Get Started
Follow the below steps on how to inject your own app into control panel v2
Create Your Micro App Project
Single-spa offers a CLI for those who prefer autogenerated and managed configurations for webpack, babel, jest, etc.
The CLI is called create-single-spa (document). It is primarily intended for the creation of new projects, but may also be useful for migrating existing projects (especially migrating CRA or frameworkless projects).
If you wish to have create-single-spa globally available, run the following in a terminal
npm install --global create-single-spa

# or
yarn global add create-single-spa
Then run the following to create a new project under the folder microsite.my-app-name
create-single-spa microsite.my-app-name
Select project type as single-spa application / parcel

Then choose the framework you would like to use and set the organization name as tbm

App Mount Point
All the micro apps will be mounted under the HTML tag <div id="tbmmicroapp">
To make your apps mounted correctly, you need to define your app's mount point correctly, this need to be done in your code where the singleSpa Object been created:
Vue Project
Need to specify the
elvalue as#tbmmicroappwhen createsingleSpaVueconst vueLifecycles = singleSpaVue({
createApp,
appOptions: {
el: '#tbmmicroapp',
render() {
return h(App, {
name: this.name,
mountParcel: this.mountParcel,
singleSpa: this.singleSpa,
});
},
},
});
React Project
Use
domElementGetterto specify the mount point astbmmicroappconst lifecycles = singleSpaReact({
React,
ReactDOM,
domElementGetter: function () {
return document.getElementById("tbmmicroapp");
},
rootComponent: Root,
errorBoundary(err, info, props) {
// Customize the root error boundary for your microfrontend here.
return null;
},
});
Dev/Test In Local
Once you have created your own project in your local, you can now use the Control Panel v2 UAT environment as a development/test environment to inject your local app and see how it works in UAT environment
Make sure you have installed the single-spa-inspector tool
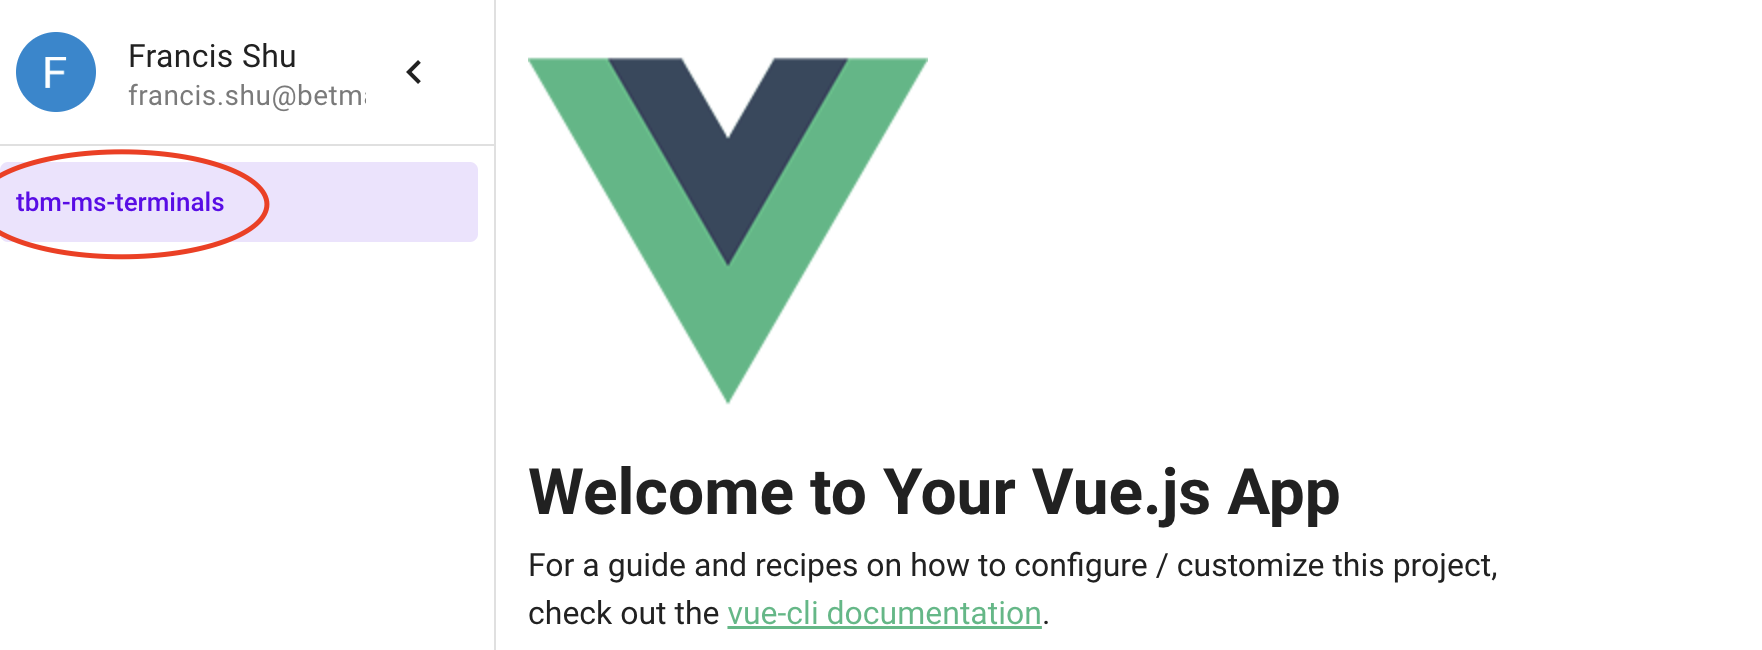
Run your own project in your local, when you access it via browser, you may see info like following:
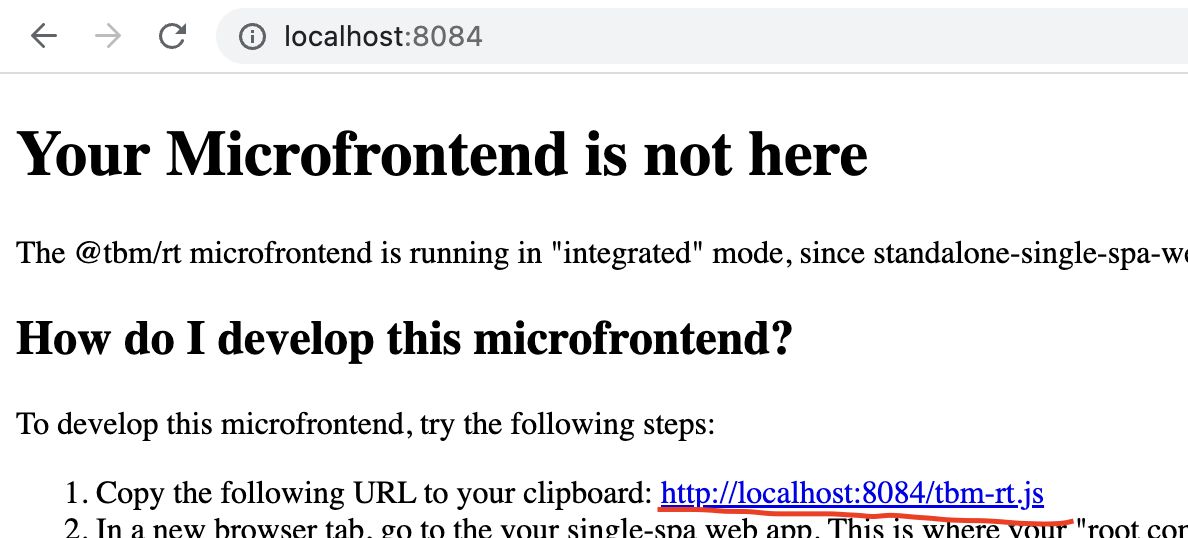
Copy your js file URL and Go to Control Panel v2 UAT
Go to F12 -> single-spa-inspector Tab
Put your app's URL and click Apply, then refresh the page, you should be able to view you own app has replaced the
tbm-ms-placeholder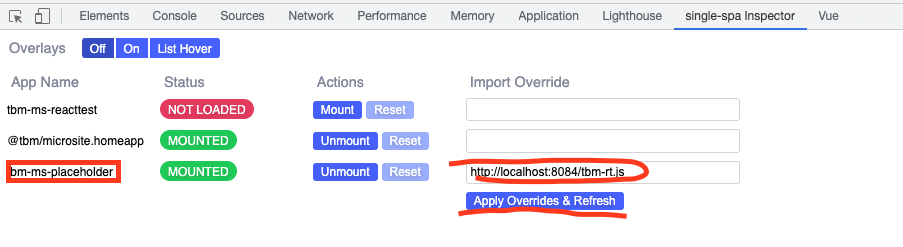
Deploy Your App to Control Panel
Once you have dev/tested your micro app, to make your app available for the control panel v2 to load, you need to add the registration step to your pipeline
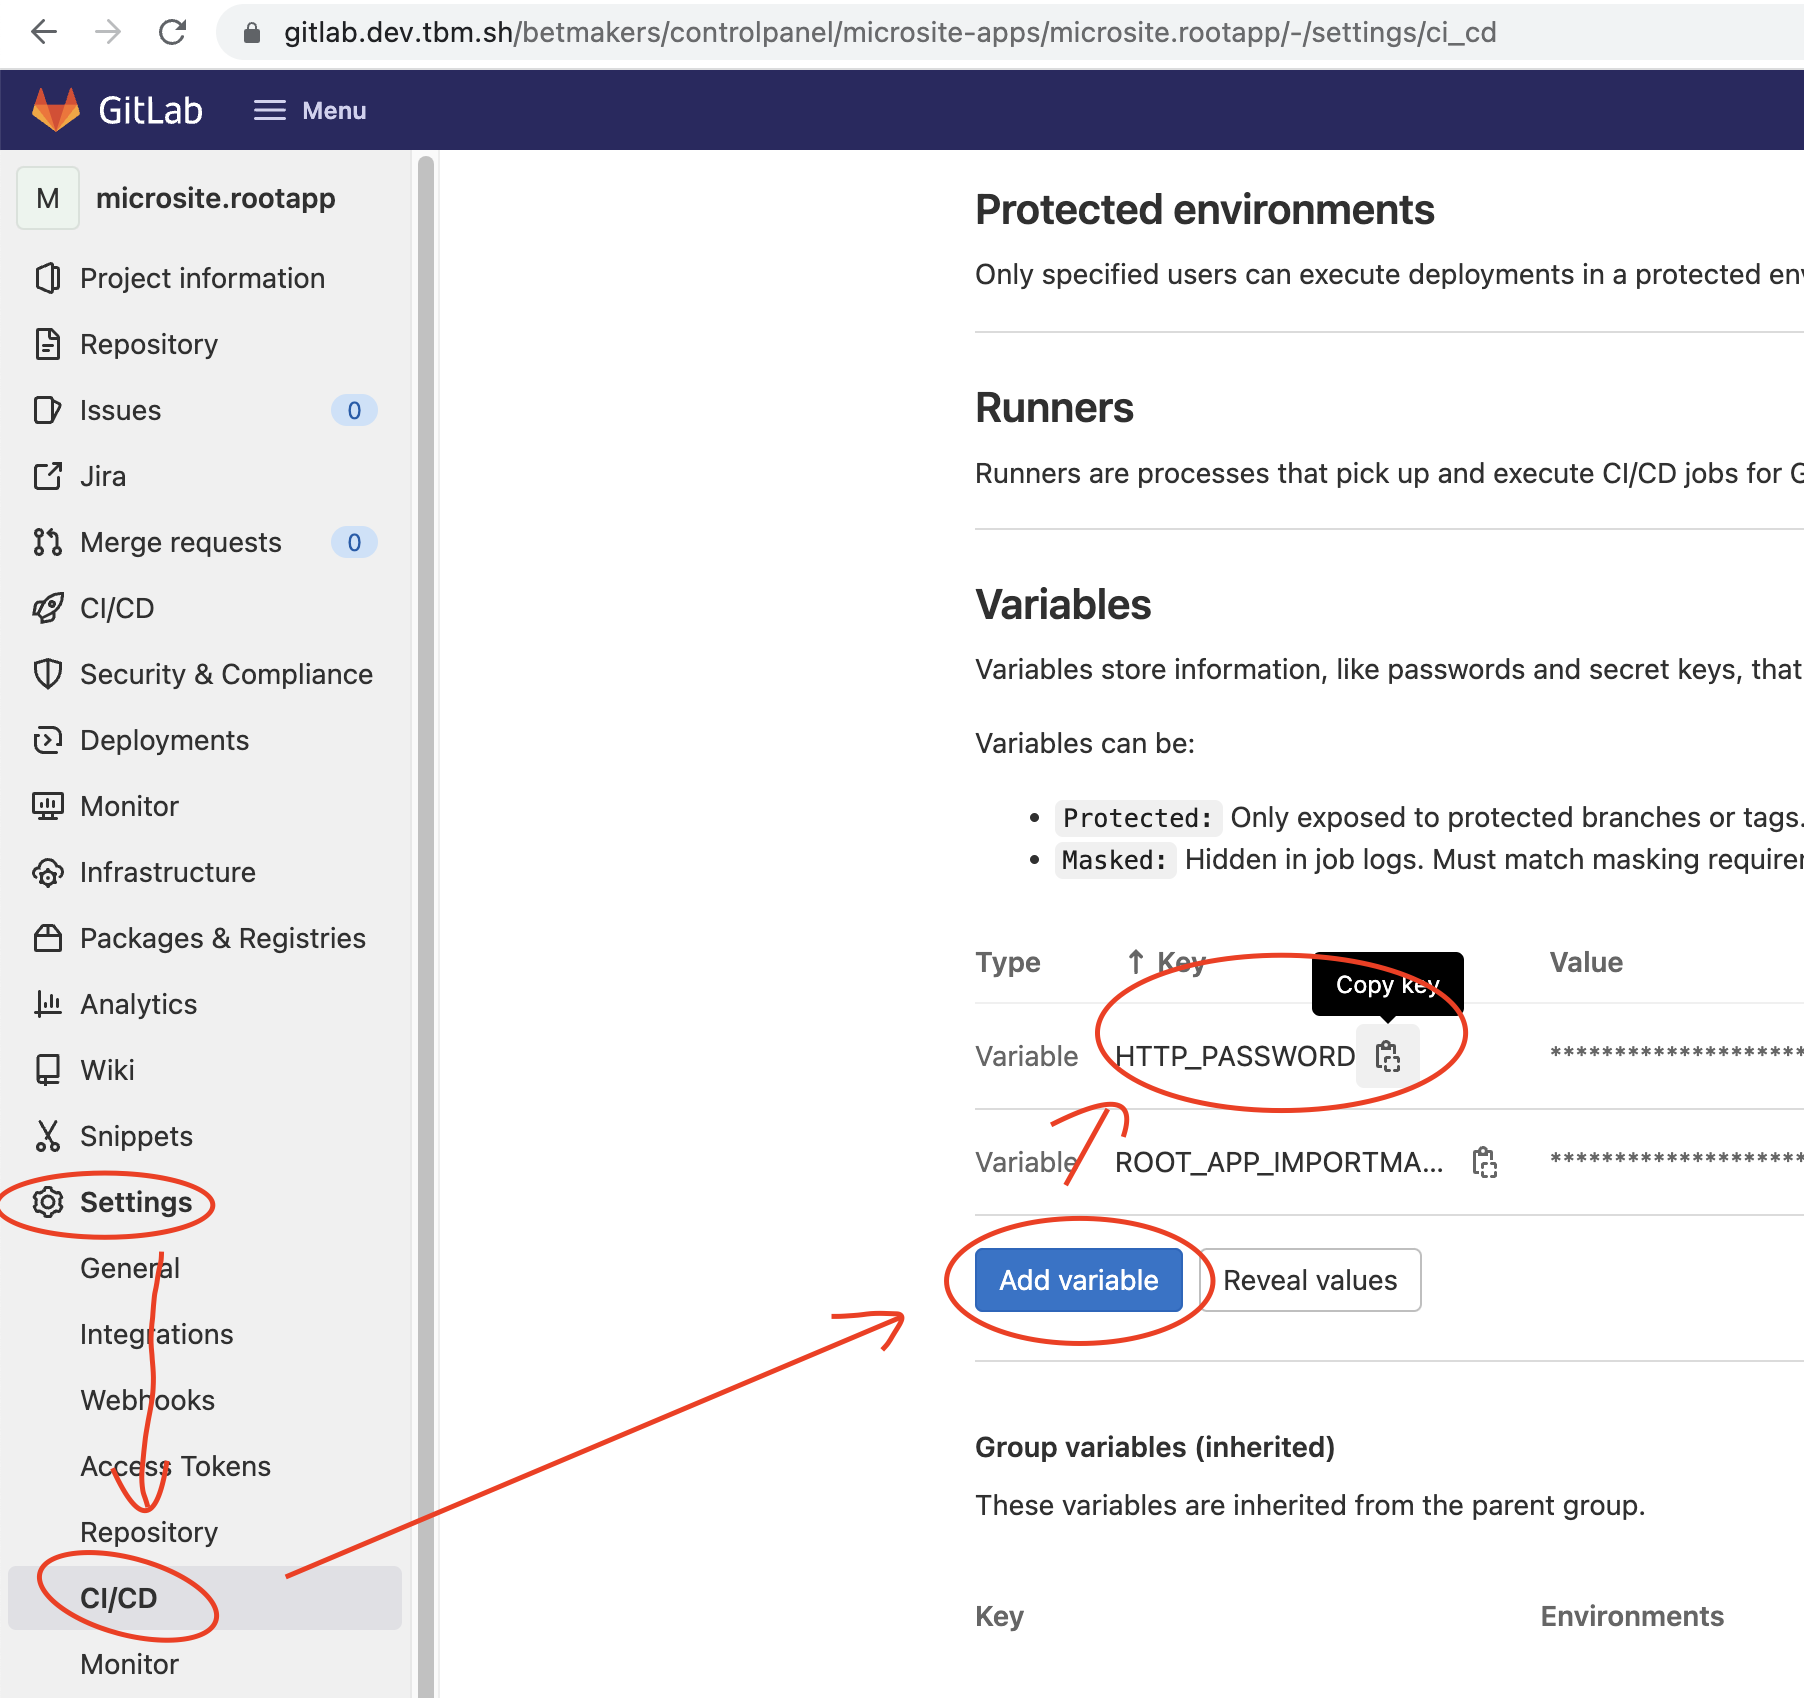
Add CI/CD variables
We have exposed a http endpoint to register the micro apps from the pipeline, to make your pipeline able to register your micro app, please ddd the variable HTTP_PASSWORD into your project's CI/CD variables:
Where to get the HTTP_PASSWORD?
Go to GCP console -> Switch to control panel project (controlpanel-uat-au for UAT) -> Security -> Secret Manager -> click on microsite-deployer-password -> Choose "View Secret Value" in actions
Add registration step in pipeline
Add following job into your .gitlab-ci.yml file(example of UAT):
.deploy:
  image: $GCP_CONTAINER_REPO
  script:
    - echo "Commit sha is $CI_COMMIT_SHORT_SHA. This will be the directory name under $CI_PROJECT_NAME in Cloud Storage."
    - gcloud auth activate-service-account $GOOGLE_SERVICE_ACCOUNT --key-file=$GOOGLE_APPLICATION_CREDENTIALS
    - gsutil -m cp -rZ dist/* gs://$DEPLOYER_BUCKET/$CI_PROJECT_NAME/$CI_COMMIT_SHORT_SHA
    - echo "Updating import map"
    - echo '{ "service":"@tbm/'"$CI_PROJECT_NAME"'","url":"https://'"$CF_PUBLIC_URL"'/'"$CI_PROJECT_NAME"'/'"$CI_COMMIT_SHORT_SHA"'/js/app.js" }'
    - curl -d '{"serviceMeta":{"menuItem":{"logoRelativePath":"micro-app-logo.png","parentCode":null,"resourceCode":"tbm-ms-cpaccesscontrol","order":0,"name":"Access Control","description":"User Management Module", "restrictAccess":true}},"service":"tbm-ms-cpaccesscontrol","url":"https://'"$CF_PUBLIC_URL"'/'"$CI_PROJECT_NAME"'/'"$CI_COMMIT_SHORT_SHA"'/js/app.js"}' -X PATCH https://$DEPLOYER_HOST/services\?env=default -H "Accept:application/json" -H "Content-Type:application/json" --fail -u deployer:$HTTP_PASSWORD
    - gcloud compute url-maps invalidate-cdn-cache $DEPLOYER_BUCKET --project $GCP_PROJECT --path '/'"$CI_PROJECT_NAME"'/*' --async

  only:
    - master

deploy-uat:
  extends: .deploy
  stage: uat
  environment:
    name: uat
  dependencies:
    - build
  variables:
    DEPLOYER_BUCKET: controlpanel-uat-au-microsite
    CF_PUBLIC_URL: control.gcpuatau.tbm.sh
    DEPLOYER_HOST: deployer.control.gcpuatau.tbm.sh
    GCP_PROJECT: controlpanel-uat-au
The request body we used above to register the app:
{
  "serviceMeta":
  {
    "menuItem":
    {
      "parentCode":null,
      "resourceCode":"tbm-ms-cpaccesscontrol",
      "order":0,
      "name":"Access Control",
      "description":"User Management Module",
      "restrictAccess":true,
      "publicPath":"https://xxx/sss",
      "logoRelativePath":"micro-app-logo.png"
    }
  },
  "service":"tbm-ms-cpaccesscontrol",  // the unique service name of your app, also be used as part of the URL
  "url":"https://'"$CF_PUBLIC_URL"'/'"$CI_PROJECT_NAME"'/'"$CI_COMMIT_SHORT_SHA"'/js/app.js" // the locations of your app js file
}
resourceCode- the unique UI resource code of your micro appparentCode- if you wish to hook your app as a sub menu, then provide the resourceCode of the parent menu, otherwise leave it as nullorder- your app's order on the left nav menuname- your app's display name on the left nav menudescription- your app's tooltip description on left nav menurestrictAccess- if false or no present, your app will be available to all control panel users. if set to true, it will be only available to users who has been assigned the role with access to your app'sresourceCodepublicPath- (Optional) - by default we will set this as your bundled javascript location, e.g. the gcp cloud location we uploaded your micro app's js file to. you can set this to some other location where u want to store your public assests like your micro app's logologoRelativePath- (Optional) - your app's logo file relative path based onpublicPath, default icon applied if no logo providedlogoMDI- (Optional) - If you want to use meterial design icons as your app's left menu logo, provide the icon name here and don't provide value forlogoRelativePathsingleModuleHost- (Optional) - If you want to use a different URL for your micro app only (user can only view your app's content and no left nav bar displayed)
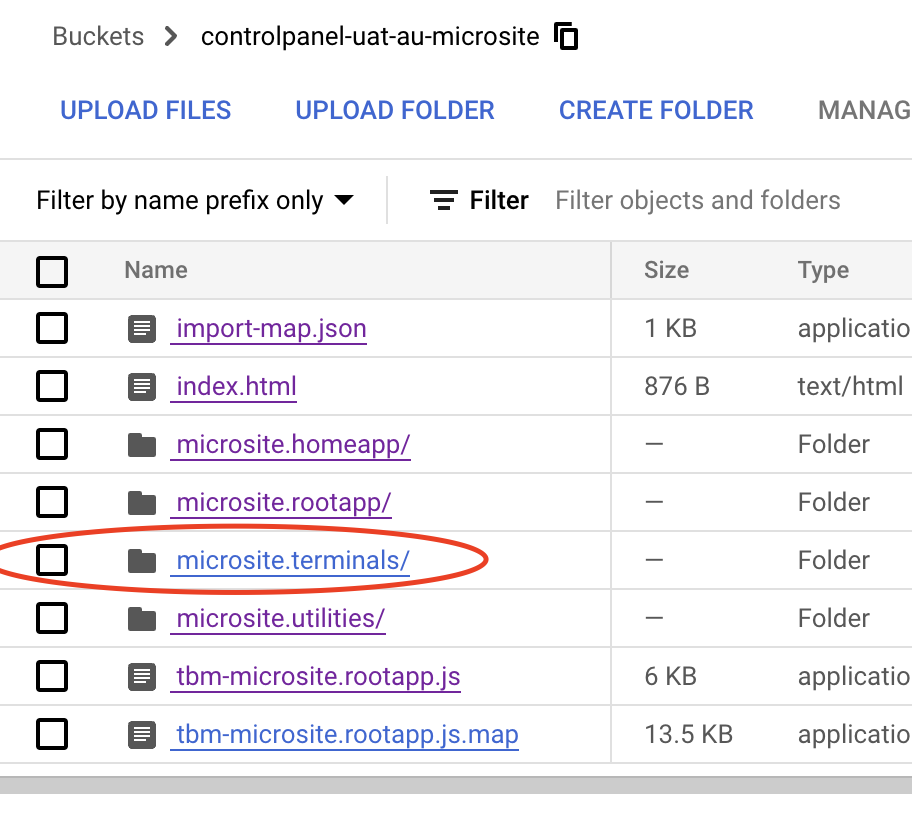
The job will do following for you:
Copy your build artifacts into control panel v2 GCP bucket, each micro app will have its own folder:
Call the import-map-deployer to register your app into the importmap.json file
Verify App Registration
Once the pipeline of your own project ran successfully, go to Control Panel v2, you should be able to see your app hooked into the site:
Use Utility Module (Optional)
The Bet Race Portal team provides an utility module that can be shared acrosss micro apps, to use it in your project:
Use utility module as externals in the webpack config:
return merge(defaultConfig, {
    // modify the webpack config however you'd like to by adding to this object
    externals: [/^@tbm\/.+/],
  });
You can then use the module funtions in your source code, e.g:
import { getCurrentUserToken } from '@tbm/microsite.utilities'
To view all functionalities provided in utility module, see the Utility Docs
Authentication & Authorization
- We integrated google identity platform as our authentication provider, anybody inside betmakers would be able to login with their company emails
- We also supports email/password logins for external users when needed
SingleModule URL
Steps to configure single module URL for your micro app:
- Set
singleModuleHostin your app's service meta of your pipeline, e.g.pm.control.gcpuatau.tbm.sh - Manual add DNS record to map the singleModuleHost to IP of microsite
- Manual create google managed certificate in controlpanel gcp project's load balancing
- Add CORS origin in (CORS):
- Add certificate mapping in (Load Balancer)
- Routing - see (Routing example)